How to choose (and check) a second-hand bike
The ultimate guide of choosing the second-hand bike; what to look for and how to check everything when you're taking over the bike.
No rocket science
Buying a (used) bike is like getting a new haircut. It’s easy as long as you know what you want, where to go, and what to look at. But if either of those is missing, it can easily become a nightmare.
BikeFair is here to make sure it all goes right. So here’s our bit on how to make sure your next bike is the dreamy ride of your life. You can check our blog post "Important Factors to Consider When Buying a Bike" to help the process.
P.S.: The article is a bit longer because we go well in detail and try and explain even the terminology. Give it a try though – one quick read and you’ll see your next bike will worth it.
Depending on what will the bike serve for, what type of user you are, what you expect from your bike and what are your possibilities, you should set your criteria before starting the search for your new ride. Given the wide variety and offer of bikes, this will save you a lot of energy and time later on.
Let’s take it one by one.
1) What will you use the bike for?
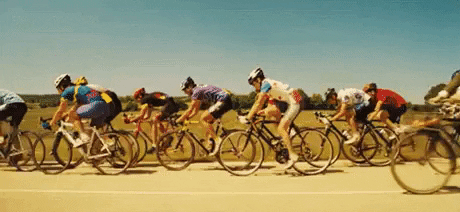
Mr. Bean overtaking cycling squad
First, think of the reason why you’re actually buying your bike. Need a quick way to get around a city? Check out the city or racing bikes with narrow tires or the trendy single-speed “fixies” if you dare. Commuting longer distances between cities? It might be worth investing in electric bikes to save some energy and time. Often transporting a lot of stuff? Check out city bikes with baskets or transport bikes with large load capacities.
2) How do you like to ride?
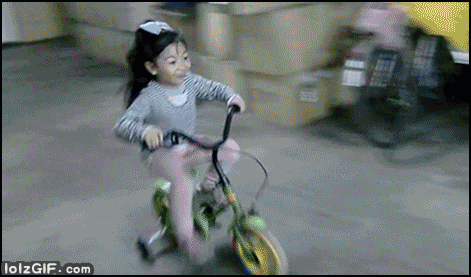
Little girl parking kids bike like a pro
Second, consider your style of ride. Prefer fast rides, and don’t mind getting a bit sweaty? Make sure your bike has a couple gears. Same goes for riders in hilly areas. Then, are you a rookie cyclist or a seasoned pro? For new users, pedal brakes are usually very uncomfortable, and so are narrow tires.
3) What is actually good for you?
Another very important aspect is frame size. Get a bike too small, and you can expect some solid pain in your back, shoulders and knees within a couple kilometres. Get a bike too big and you’re likely to get injured in one of many crashes you’ll face. Want to know more? Check our Ultimate size guide.
There are many trade-offs you can operate with. Narrow tires will save you energy, yet for the “cost” of stability. Low handlebars of road/trek/mountain bikes will increase your speed, but at the same time take a toll on your comfort. Big front basket will carry a large shopping load, but in windy areas you’ll have to work a bit harder for every meter you cycle.
You get the idea. Make sure to consider all aspects/accessories of the bike.
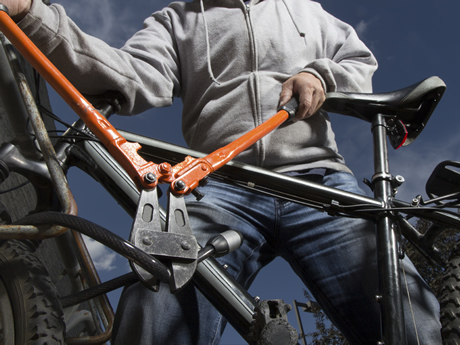
Don’t like getting your bike stolen like us? Don’t buy a stolen bike then.
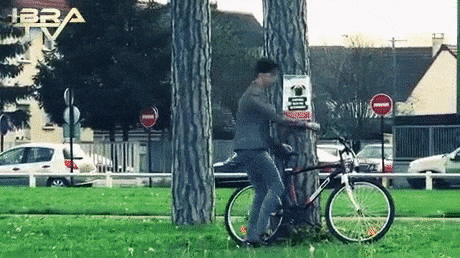
Cyclist trying to cut the tree with rope
We are also super fed up by the number of bikes we and our friends have already lost to theft. Most of those bikes are then resold on social media and shady marketplaces – only to be stolen again later. Of course we will recommend to use BikeFair where all the bikes are checked. But even if you don’t find what you’re looking for here, rather suffer the higher price and go to a bike shop than getting the freshly stolen one on the corner in the middle of the night.
Then there’s the money thing…

Donald the Duck with empty wallet
Sadly, how much you pay for a bike is often determined by where you look for it rather than by what you’re actually getting. Of course we have an axe to grind here – why not compare the same bike model from multiple sellers? But even if you don’t want to use BikeFair (or there’s not more than one of the model you need), always check out more than one shop. Five minutes of walking can easily save you a lot of money.
If you know where to look, you can check the quality of the bike without using any tools – it doesn’t take more than a couple minutes and it is actually quite easy to do.
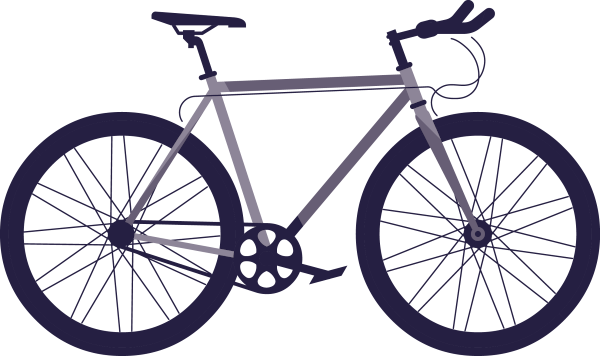
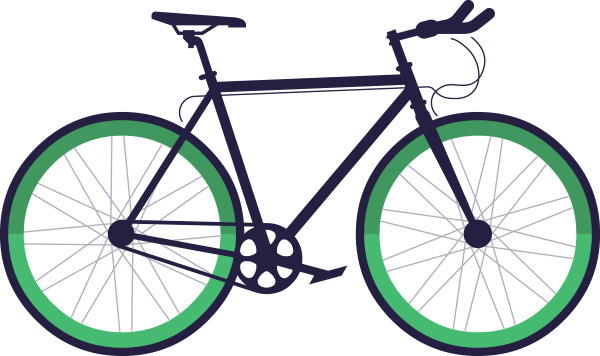
You’re starting on a complete blank canvas, no knowledge about the bike whatsoever (without some obvious aesthetic insights – ooh, what a nice green wheels, or eeh, how wonderfully modern-looking frame!). This is where you are now:

Bike - choose component1
Your checklist – what to look at
- Frame (and fork)
- Wheels
- Tires
- Drivetrain (“chain and gears”)
- Brakes
- Headset
- Peripherals (grips, seat, pedals, cables/bowdens… )
Every basic commute bike used in a rainy climate will get rusty over time (unless you got an expensive carbon road bike), but you want to avoid that as long as possible. Rust is also a signal the bike was kept outside and not kept well, so if you’re facing a huge pile of rust, all the axles and more sensitive components will likely be in a bad shape, too. If you’re buying an expensive piece, even bubbling or rust on the peripheries (e.g. inside the fork) of the frame can signal a bigger problem coming.
Bike - choose component2
How to check?
Take a proper look on the frame and fork and search for bends, cracks (can be really dangerous!), dents or rust.
Pro tip: If you’re usually able to ride a bike without holding hands, try it on the bike you’re testing. Inability to do so may mean the frame, fork or one of the wheels are bent (or wheels not mounted straight). Always keep your own safety first, though!
Straight wheels = smooth ride. Again, no rocket science here.
Bike - choose component3
How to check?
- Lift the wheel of the ground and give it a proper spin. Try looking from the front of the wheel and observe if it moves to the sides or not. If it doesn’t have any or just a small range (couple milimeters), you’re good. Small curvature can be fixed (“trued”) by tightening some of the spokes. Bigger warps can’t be easily fixed though, and you will need to replace the wheel.
- Check the spokes tension by grabbing them in your hands. They should feel tight, not wiggly. Some wiggle can be easily fixed by tightening. Many loose spokes could cause your wheel to bend soon.
- Try holding the tire (you need to hold the front one just next to the fork) and rocking the wheel from side to side.
Tires are, by many beginners, considered being one of the most important thing when buying a used bike. In fact, they are usually quite cheap and easy to replace. If you want a perfect bike, take a look at them anyway.
Bike - choose component4
How to check?
Take a look at the tires. Are there any flat, smooth spots on the top? Are there any cracks or holes (even in the tread)? Then you might need to change it soon.
Drivetrain is a closely linked complex of the chain, chainrings, cassette and derailleur – everything that transfers the motion from the your legs to the back wheel. Individual parts of the drivetrain are not too expensive nor hard to exchange, so one flawed component on a very common bike model shouldn’t be an issue. On the other hand, given how deeply connected the parts here are, the more complex (and unique) the drivetrain/bike, the more of a headache can it cause.
Bike - choose component5
How to check?
A) Chain
If you can access the chain, shift it to the largest front wheel. Then try pulling it away from the chain ring. Can you easily pull it off the chain ring? Then it is worn out and will need to be replaced.
B) Chain rings (“the front gear wheels”) and cassette (“the back gear wheels”)
Worn out chain will probably mean worn out chain rings and cassette. Take a look at the “teeth” and assess how sharp/blunt they are and whether they have an even shape. New ones are regular and can easily scratch you deeply. Old ones tend to be blunt and irregular, have a shape of shark teeth.
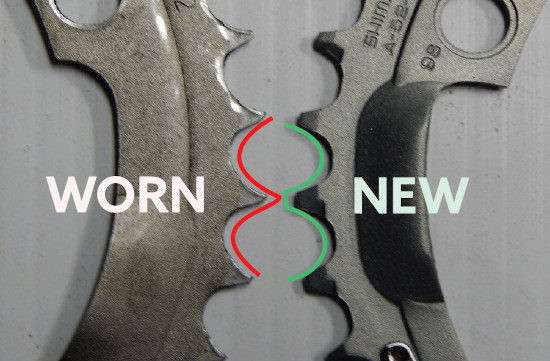
Chain rings worn vs new
C) Derraileurs/gearing systems
Derailleurs are the “techie” parts that are moving the chain and so shifting your gears. They tend to be quite expensive to replace, so make sure to check these well. How? Try riding the bike and changing the gears. Everything goes fine? Great! Any issue? It might be because of worn gear cables. Try the tension of those cables – are they loose? Then they’re likely worn out. Easy things to replace. Try also moving the derailleur by hand. Are they very stiff, almost impossible to move? Or too wiggly and loose? Then beware, you’re facing some old derailleurs. Some bikes have different gear systems, for instance internal hubs. Those are harder to check, but there is one way you should always use: give your bike a proper spin and try all the gears for couple hundred meters each. Cracking sounds, re-shifting to different gears or unwillingness to shift at all are all signs of issues you should know about.
D) Cranks/bottom bracket
Brackets are the “holes” in your frame. One holds the “pedals” in place (bottom bracket), the other connects handlebars and the fork. Cranks are what connects the actual pedal and the bracket. This part is quite difficult to replace, so it is very important to check. Hold one of the cranks and try wiggling it. If it doesn’t rotate only around the pedal axis but wiggles into other directions too, it may actually need replacing. Similarly, if there is a noise or cracking coming out of the bottom bracket when pedalling – then you definitely need this replaced.
This is a bit difficult part, as there is a wide variety in the brake types. One big yet easy-to-fix different maker are the cables – if they are loose or rusty, tightening or replacing them is quite an easy thing to do. Same goes for the brake pads. Generally, you can divide bike braking systems into two kinds: padded brakes (caliper, cantilever or V-brakes - brakes that have pads, they’re almost always located on top of the wheels) and axle brakes - coaster/hub or disc brakes located on the axis of each of the wheels.
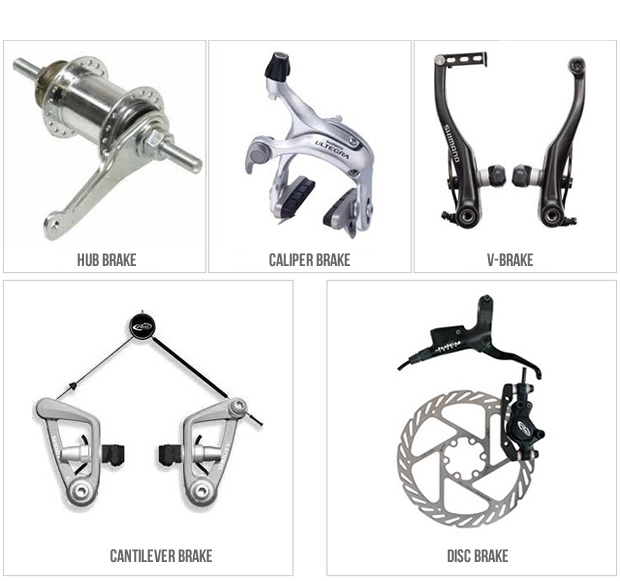
5 Brake types
Bike - choose component6
How to check?
Padded brakes (caliper, cantilever, V-brakes) – try and squeeze the brake arms (the actual brakes). This should go quite easily and the arms should immediately spring back on release. If not, they brakes are likely old and need replacing. Of course, a proper ride with couple of sharp stops will also give you an idea – but remember what we wrote above, some parts here are easy to adjust or replace.
Axle brakes (disc and hub brakes) – it is harder to check those mechanically. We’d recommend giving the bike a spin and trying the brakes the good old practical way here. Careful about not falling forward though. Note that if the breaks don’t work well, replacing these will be more pricey.
Headset is what holds your handlebars and fork (front wheel) to the frame. It is one of few quite sensitive parts, and unless you are able to fix bikes yourself, bike shops will often charge you a lot for this kind of repair. Bad shape can also be a signal of a poor overall state of the bike.

Bike - choose component7
How to check?
Pull on the front brake and try rocking the bike back and forth. If you feel the handlebars wiggling in the frame or hear knocking, the headset is loose.
Time to check whatever is left: the seat, handlebars, pedals. Those things tend to be quite distinctive on the bike, but are usually not too expensive or hard to replace – unless all of them are in a bad shape. Then the cost also adds up fast.
Bike - choose component8
How to check?
Seat – are there any holes? Will it soak when it rains? Is it adjustable? The seller should be able to help you set the right height. Or you can take a look at these saddles.
Handlebars – do they feel firm, tight? Aren’t the grips too worn to be slippery – especially when they get wet? Are the brake levers and gear shifters also tight?
Pedals – try wiggling them. Are they tight enough? Easy and cheap thing to replace by the way. You can take a look on pedals here.
That’s it!

The little boy's victory cry
And just like that, by now, you should have a complete idea about the bike you are trying out.

Bike - choose component9
This is our favourite video which will some everything up everything more…visually:
You've made it this far, so you must be overflowing with knowledge, but we have another great offer for you and that's bikes under €150.
Check out the selection of second hand bikes on our marketplace - you can filter the bikes by sizes, type of breaks, brand and many other featured to choose the one which is right for you.
See available bikes
4 THINGS TO REMEMBER
…on the handover meeting
1) Check the size of the bike
First off, make sure the bike actually fits you. It is hard to give you a suggestion universal for all bike types, but there is one thing that connects them all:

Aanbevolen framemaat

Put the pedals into up-down position. When seated on the bike, put one of your heels on the pedal which is all the way down. Your leg should be almost stretched, but not entirely:

Cyclist checking the right set up for the ride
Note that if this doesn’t work too well, you can also adjust the seat height quite a bit. Try that and
If you want to know more about how to get the bike of the right size, check this article on our blog.
2) Feel of riding the bike
The most important thing is that you should feel great riding the bike. No wobbling or shaking, no weird sounds, no extra effort needed to pedal (when on the right gear), decent braking. Gears shift, wheels ride straight. Everything on the bike should be tight and feel sturdy. Ideally no rusty spots or components.
3) All advertised equipment is included
Self-explanatory. If the owner says the bike has two locks, make sure they are attached. Lights work.
You will almost always need fenders (“mudguards”), lights, a bell, a lock or two and a stand. Some bikes do not have those – then count with the budget of adding them.
4) Frame number is correct
You don’t want to end up with a stolen bike. BikeFair asks for the frame number up front, but not always can we check it is true. Compare the frame number your order details with the one on the bike – you’ll avoid assisting a crime and potentially even a fine and a criminal record.
Want to know more? Check out this article on frame numbers.
CHECK OUT THE CURRENT OFFER
See available bikes
FIND OUT MORE:
Anti-theft 1.0: The basics of bike locking
Important Factors to Consider When Buying a Bike
Bike locks: How do I choose the right one?! The ultimate guide.
Frame number: The real hero of the bike theft battle & how it can save your bike