How to 'shoot' your bike: A photo guide
A quick, illustrated guide on how to take a perfect picture of your bike when you need to sell it. Few easy tricks how to make your pictures stand out and successfully sell your bike.
Photos highlight the quality of your bike – and so make you the profit when selling your old ride. Good photos can make more than 100% difference in perceived value of the bike! So be sure to have yours photographed well.
This is the output you want:
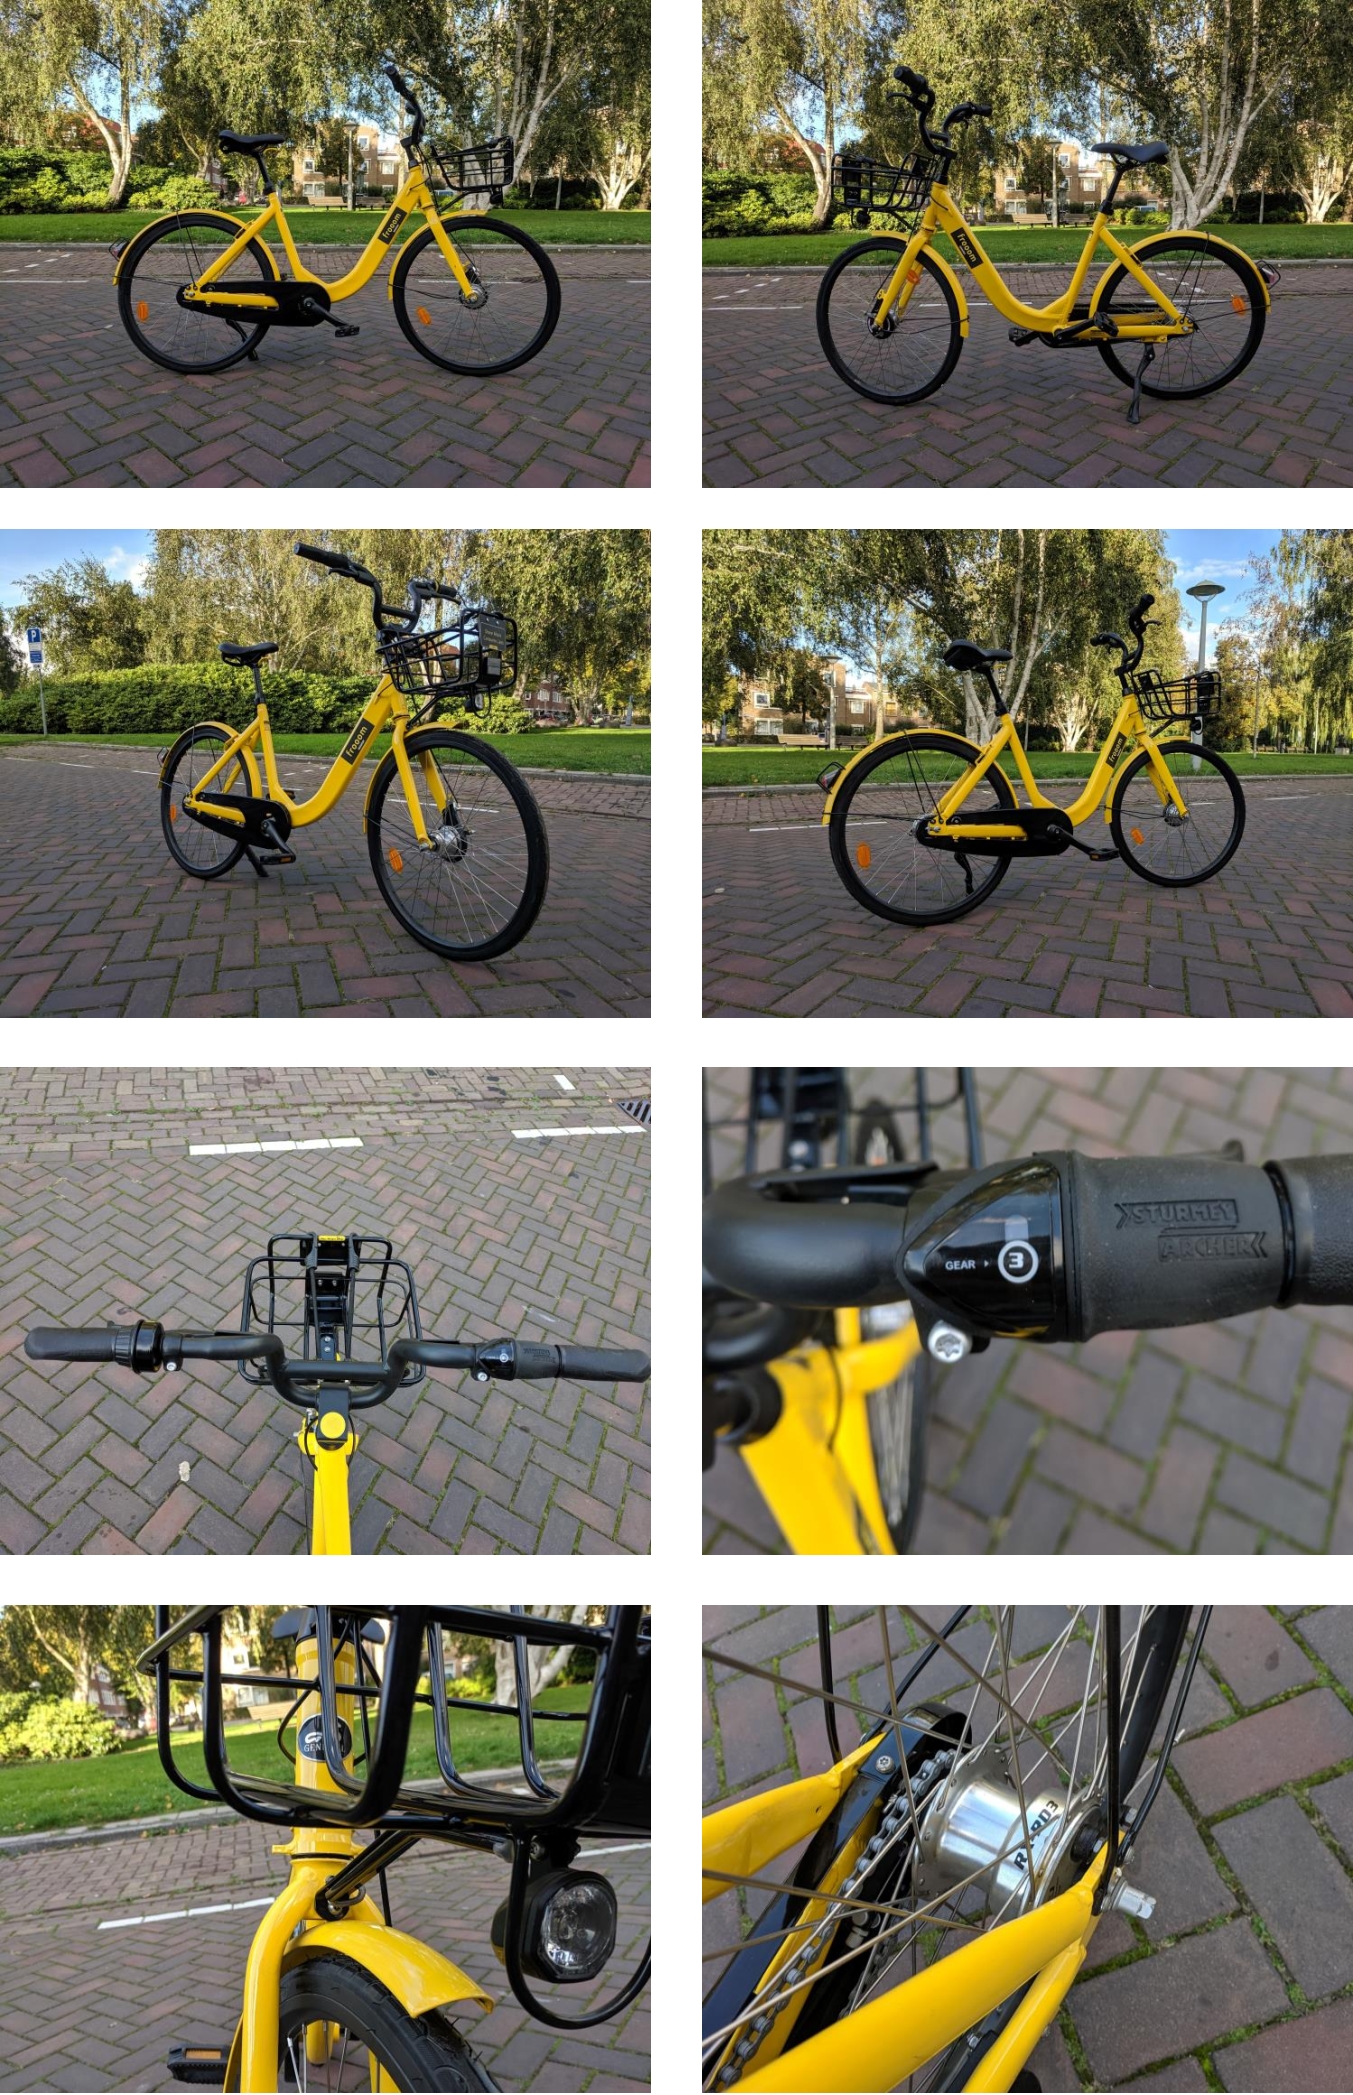
8 detailed photos of yellow bike
But you won’t sell a lot with photos like this:
Example of bad photo - black bike
So let's go through a few easy steps which will make your photo stand out and do justice to the awesome bike you are trying to sell:
Preparation & photographing:
- Clean the bike a bit
- Choose the background well
- Get the right lighting
- Set the bike in the right position
- Pay attention to the perspective
- Photograph the whole bike from different angles
- Highlight the details
Let's have a look at them one by one.
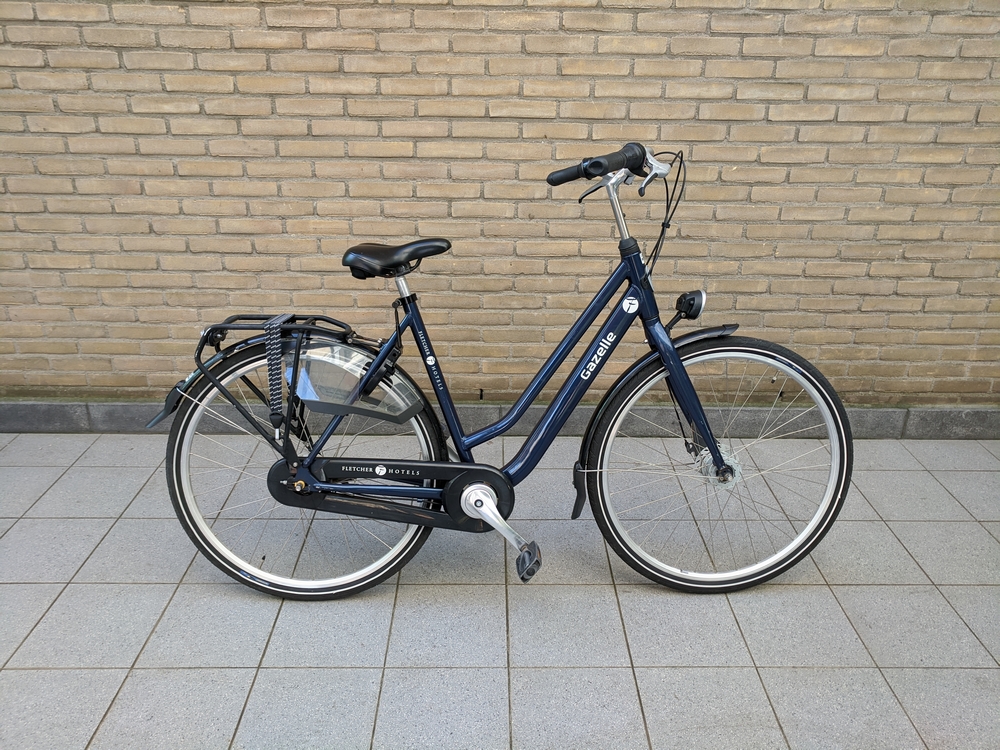
First of all, remove all unnecessary stuff, like saddle bags and other rubbish. Ugly!
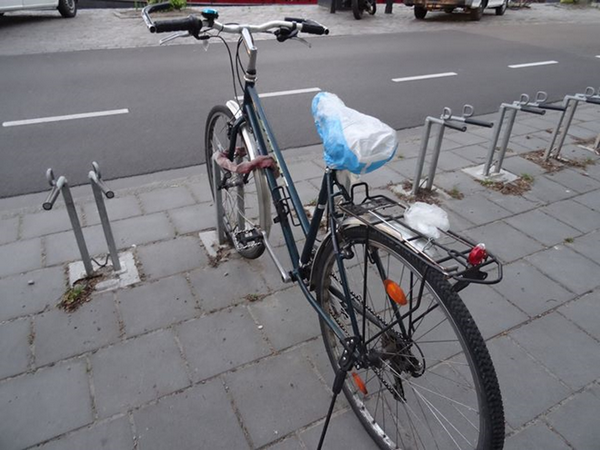
Parked blue bike in the stand
As importantly, 5 minutes with a rug can make tens of Euros difference in photos. The more expensive the bike, the bigger the difference.
TIP: Lot of dirt? Brush it off first, then do at least a quick clean-up of the whole bike. A bucket of warm water with dish soap, a bucket of cold water, and a rug. Easy 20 extra bucks (or much more, if you're selling a more expensive ride) in 10 minutes. Here’s a vid on how to do a 5-minute cleaning that makes a world's difference in the photos:
Use a contrasting, neutral background without any “pollution”, such as shelves or other bikes. #BAAW (“bike against a wall”) shots even trend on Insta - and you’re actually selling a bike, not just posting a nice picture. Other neutral backgrounds - such as large open spaces - are also fine, the main goal is to make sure the impression of the bike is not "disturbed" by other stuff in the background.
So, don't do this:

Lot of bikes in the stand
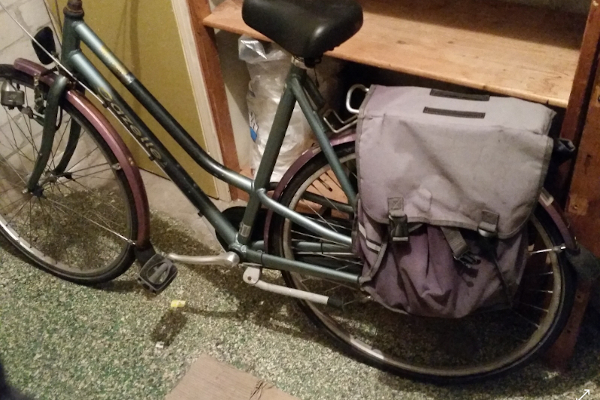
Woman bike with bag
But use a solid background instead:
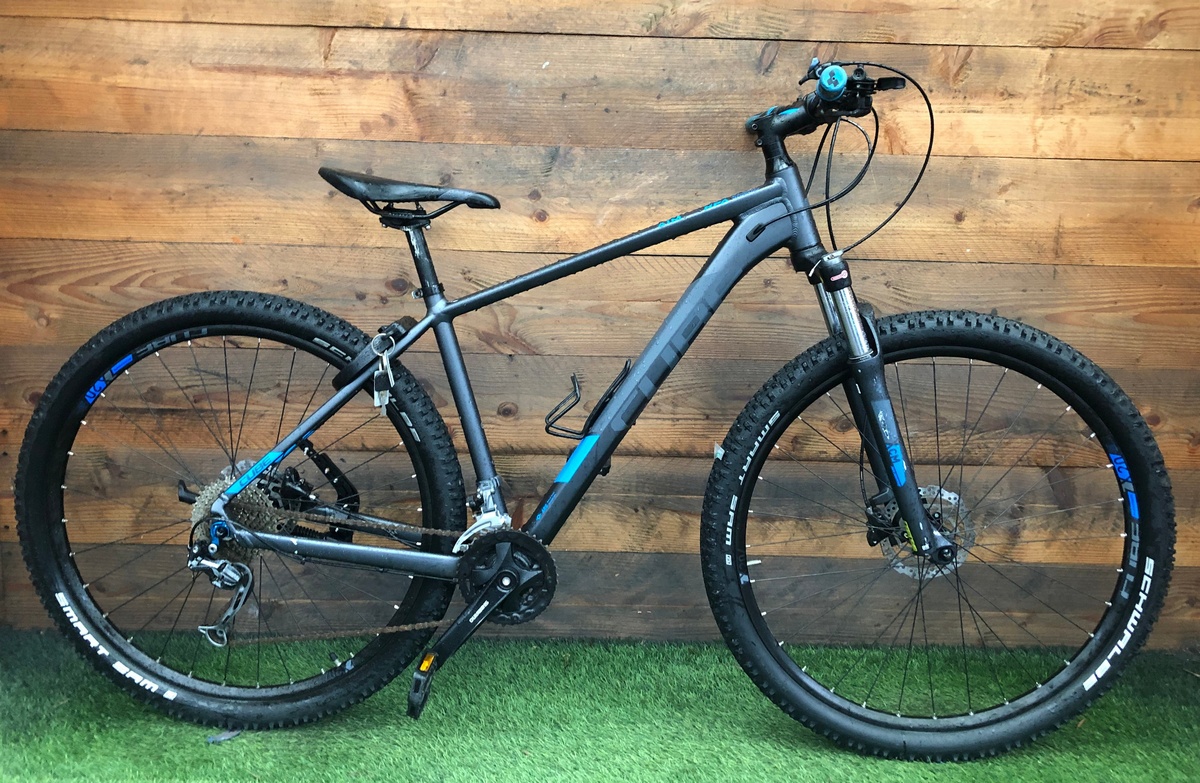
Black mountain bike
Cool open space is fine, too. Be careful about the background neutrality, though.
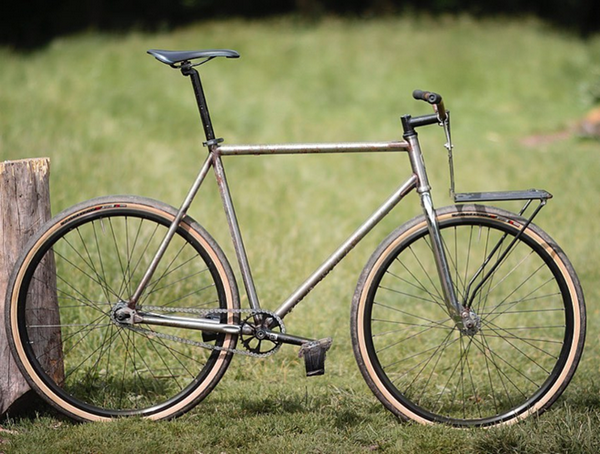
Bike with front holder in the nature
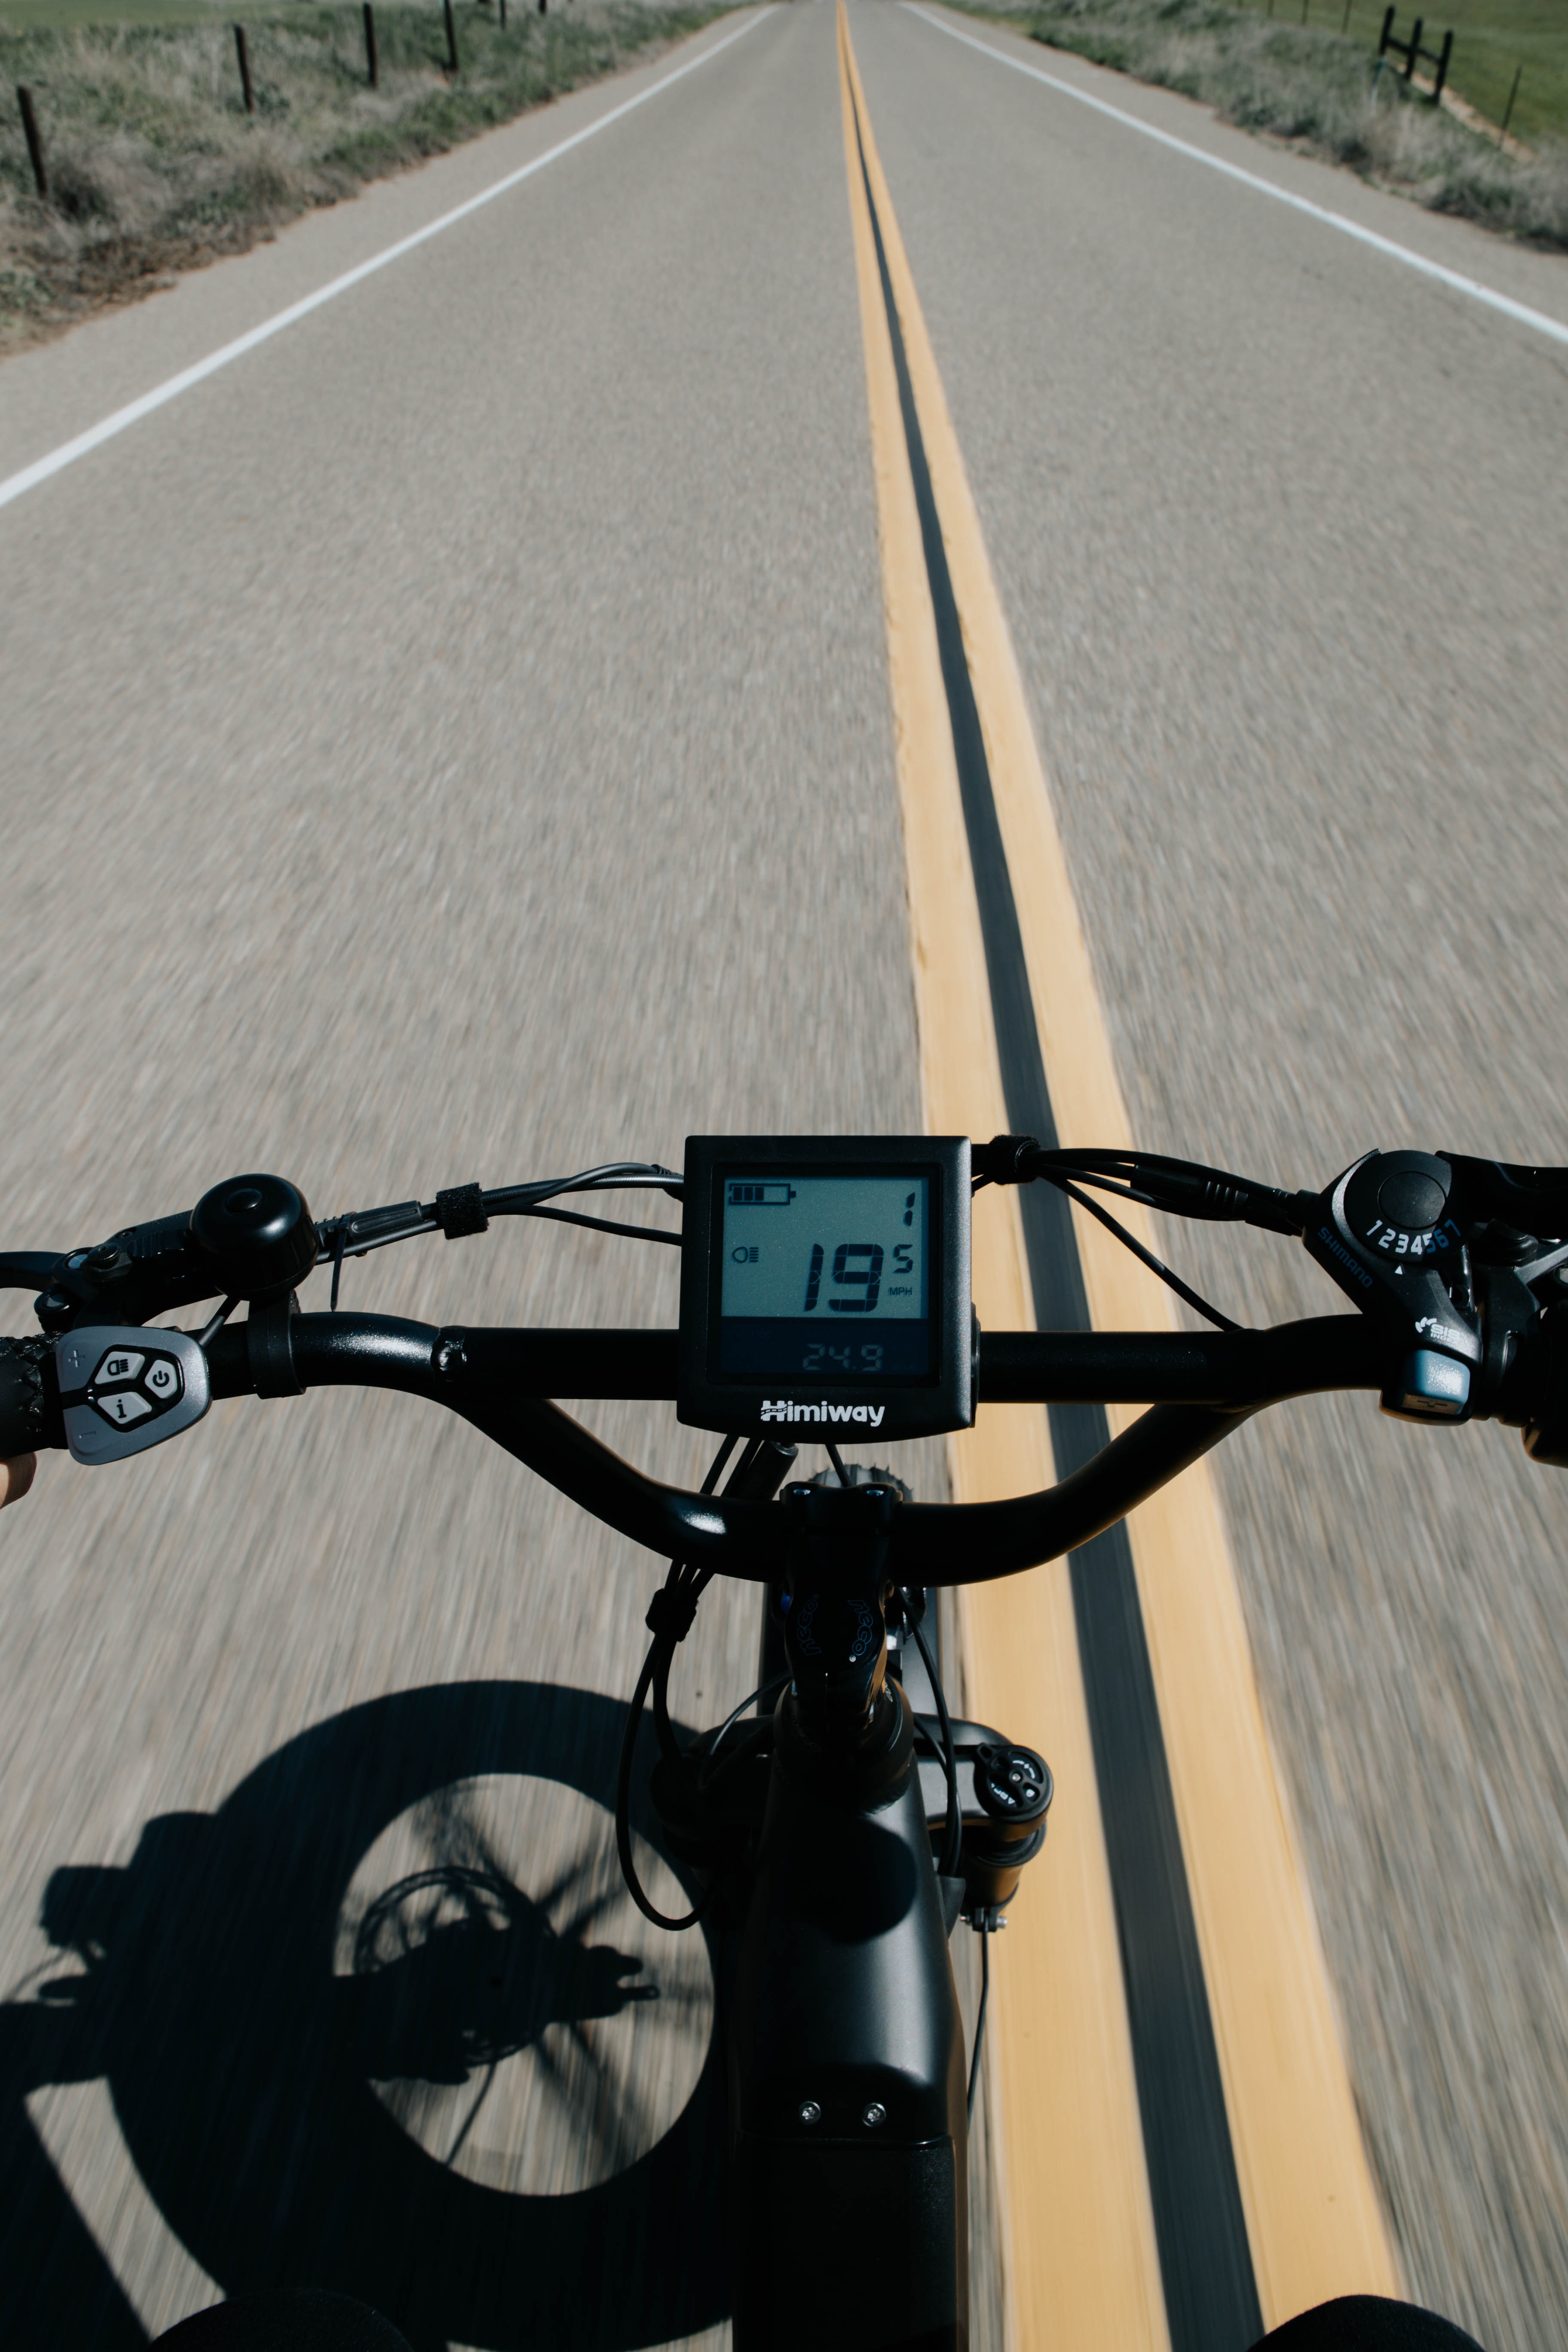
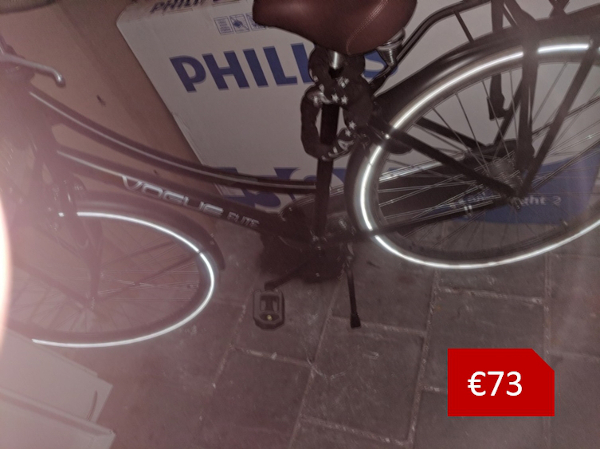
If you can wait for a nice day with the pic, awesome. If not, at least don't take the photos in the evening/night. Not only can you not see the bike properly, but poor lighting usually results in blurry pictures. And blurry photos give inaccurate information and are untrustworthy – as if you were hiding something...
A bad example:
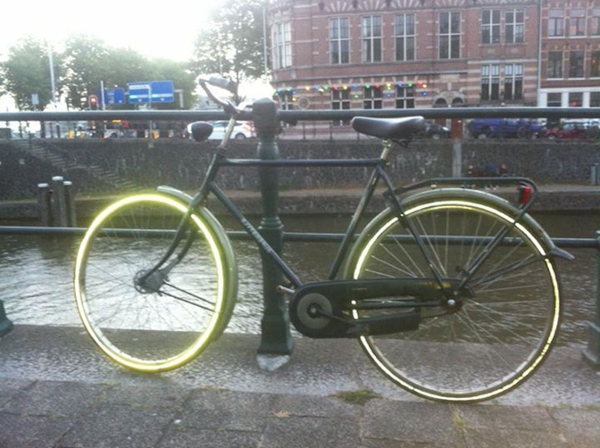
Bike with lightning tires
In comparison, sunny daylight pictures look (and sell) much better - but may still be blurry, which is not good:
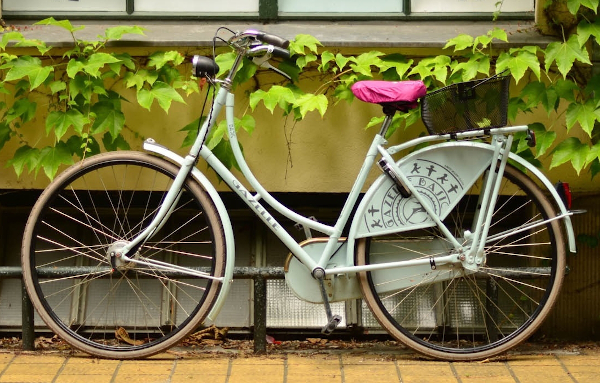
City bike with pink saddle
...and a proper daylight photo:
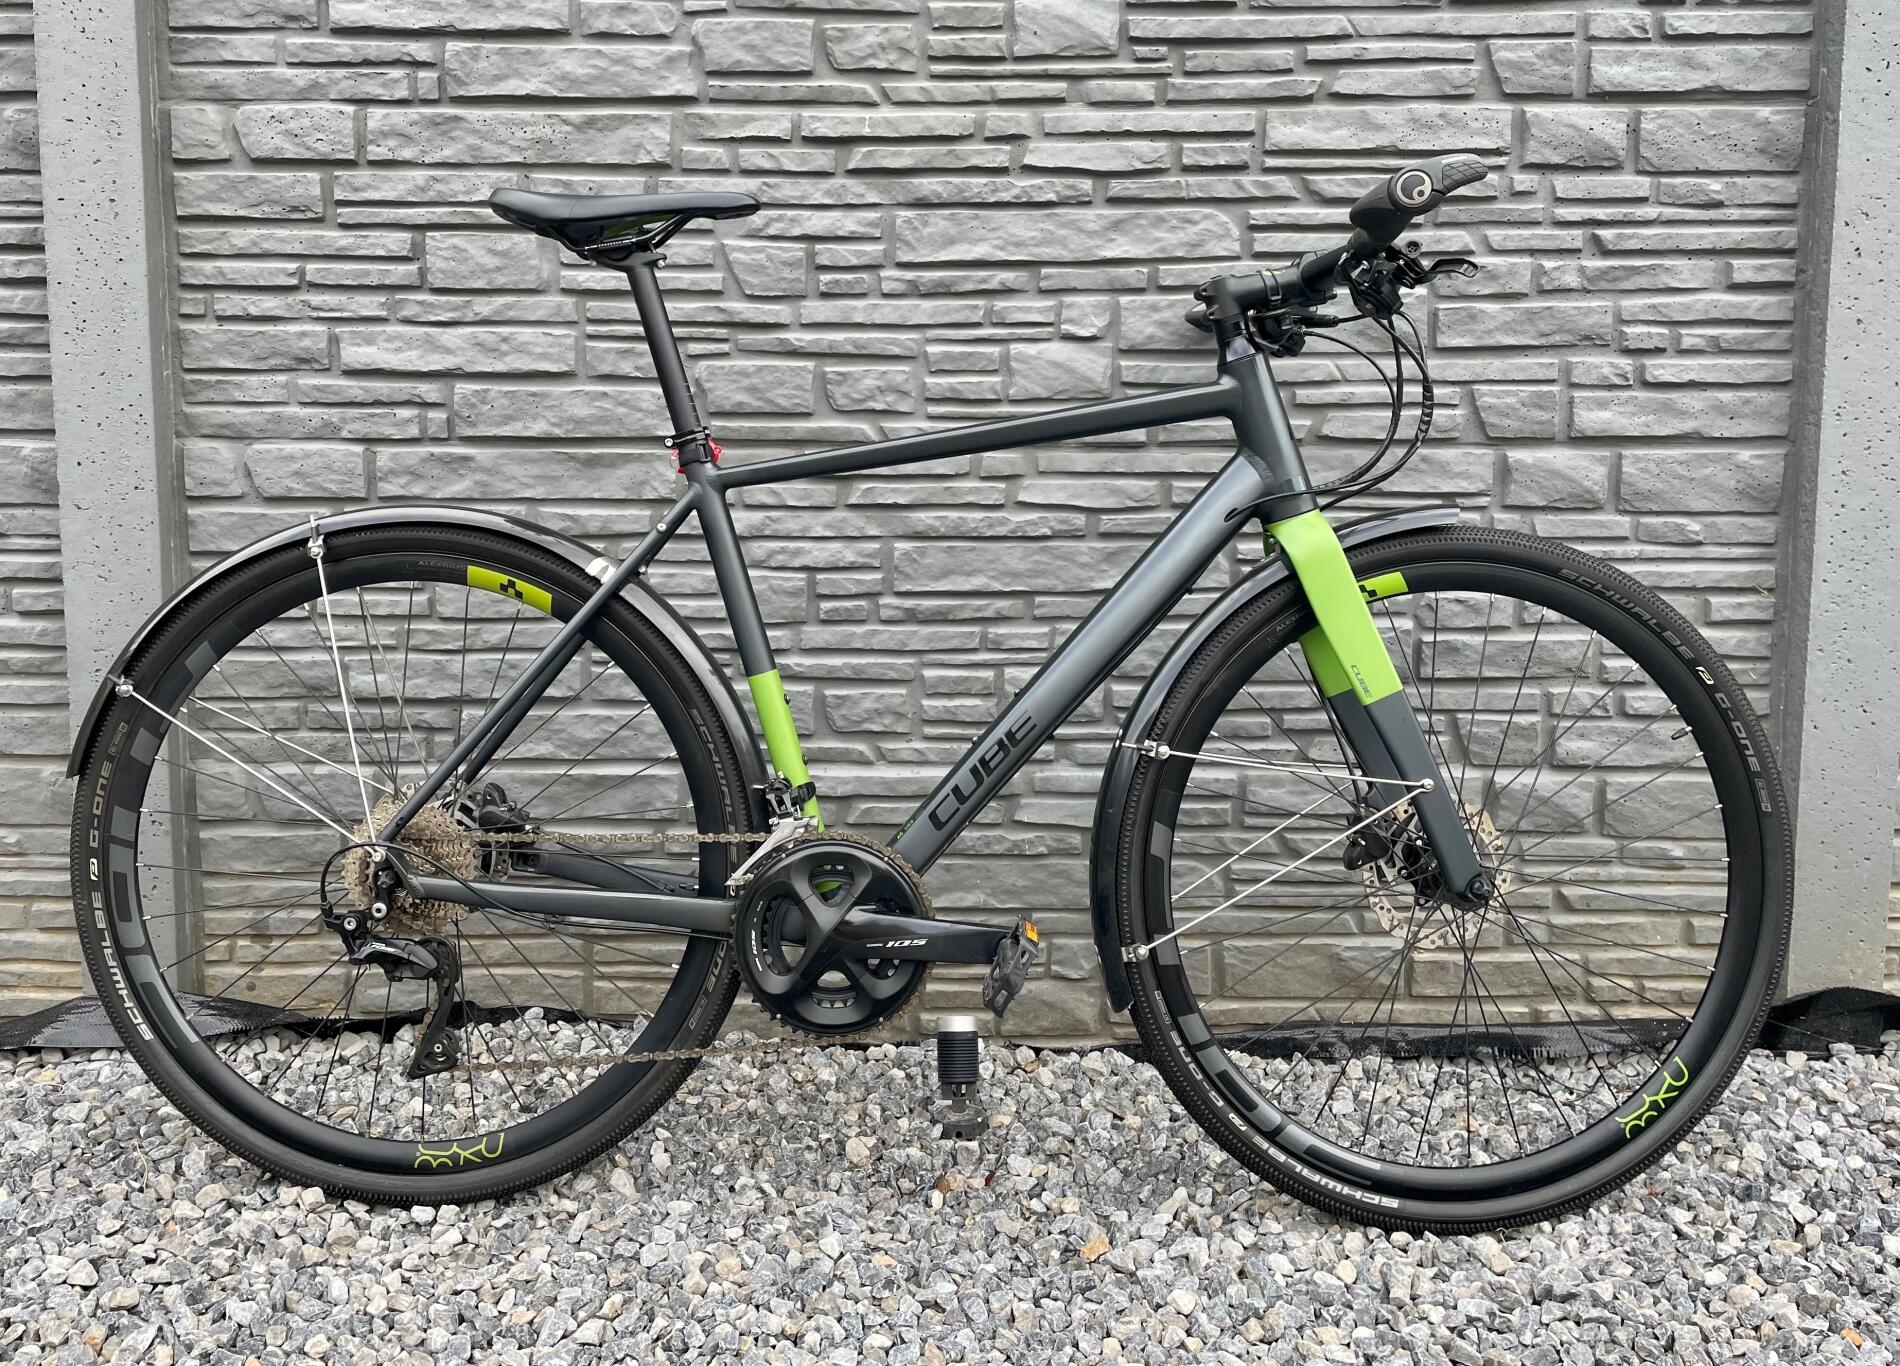
Mountain bike nearby brick wall
When getting the bike in position, some small adjustments make a big difference in the final photo. See yourself - these bikes are incorrectly set up:

Specifically:
- Keep the bike standing straight, perpendicular to the ground. Angled bikes create weird photo geometry. In case your stand is too long, you can also just stand the bike next to the wall.
- Keep the handlebars straight - the bike should be "riding to the front". Photos with a tilted wheel look bad (see above).
- Also, keep (or set) the saddle straight. You’ll need to do it for the new owner anyway.
- FOR THE TRUE BIKE NERDS: If you really want every single detail right:
- Watch the pedals position. Ideally have the front crankarm somewhere between 1 and 2 o’clock, aligned with the frame.
- If your bike has gears, have the chain on the outer chainring in the front, and on some of the mid gears in the back.
There's a bunch of things to keep in mind while photographing:
- Orientation of the photo
- Not cutting off any parts, but leaving enough space around the bike
- Perspective
- Angle (tilt) of the camera
- Let's take them one by one
First off, make sure to turn your phone the right way - the landscape orientation. So not like this:
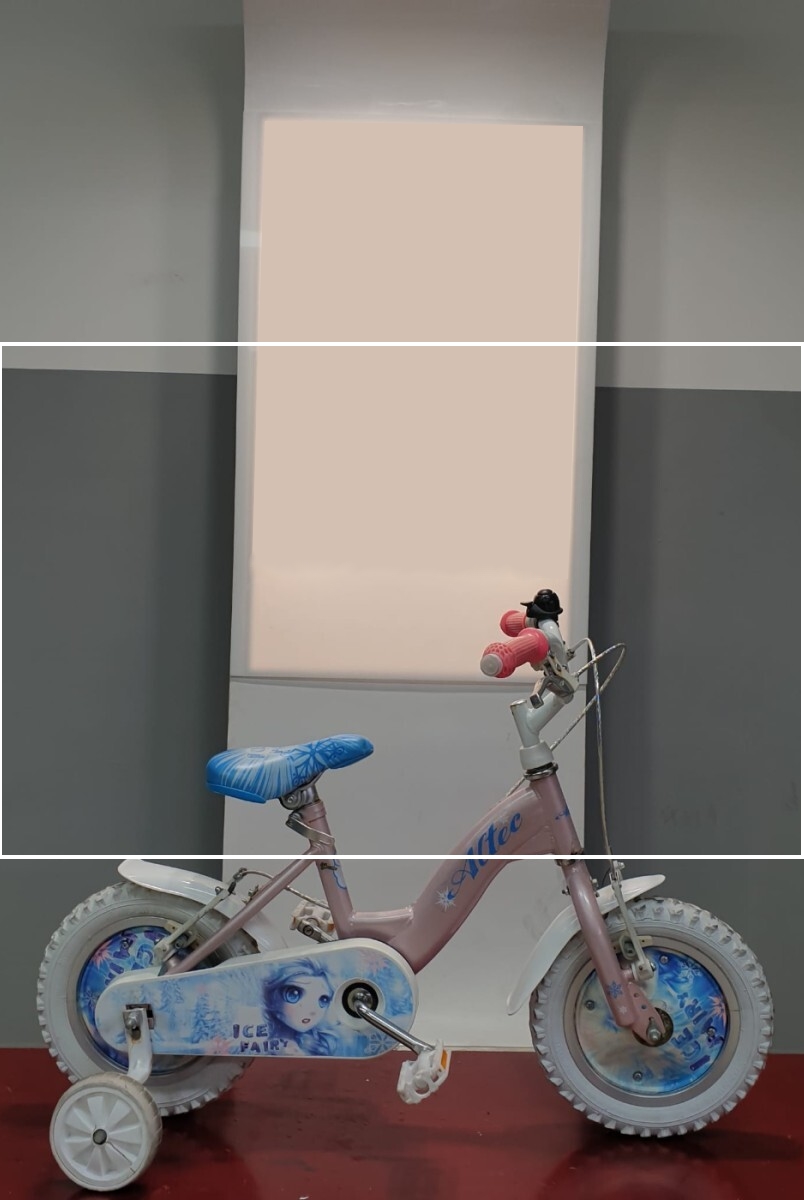
Pinky kids bike
One of the reasons for this is that the only thing most people will see of your bike then is what is in the white rectangle - so almost nothing.
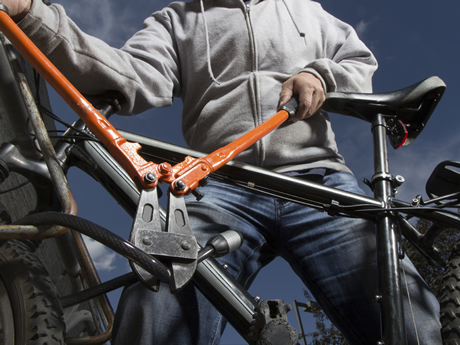
Then, do not cut part of your bike off. It leaves an impression of an untrustworthy amateur at best, fraud who is trying to hide things at worst - are you hiding something? Flat tire, broken fender or pedal? So this not good at all:
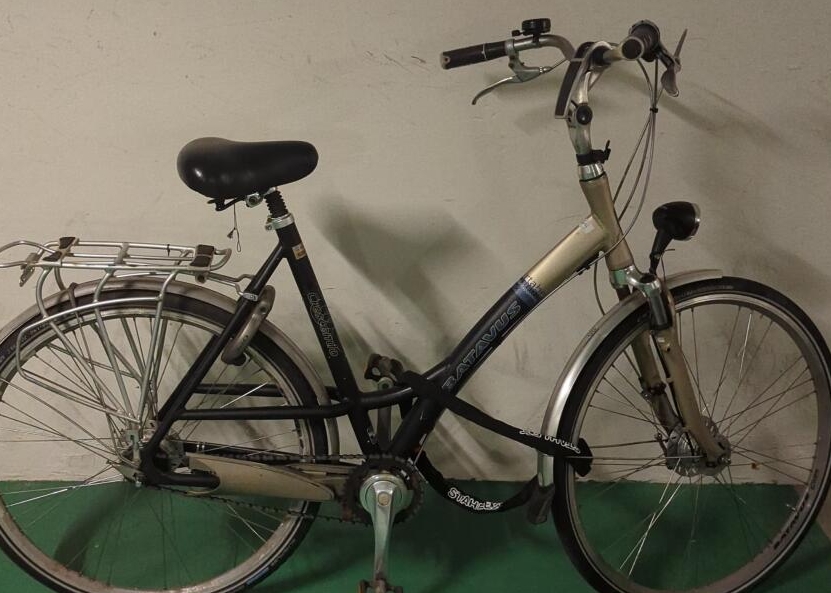
Old city bike with 2 locks
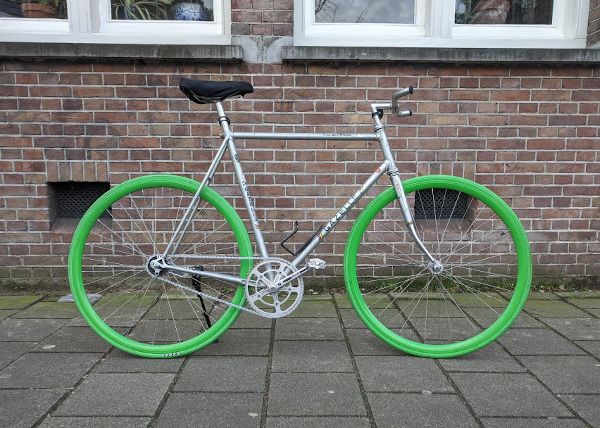
Next, remember: perspective is king. Make sure the bike is in the center of the photo with a lot of space left all around it, and keep the camera straight: top-down photos from a short distance distort the perspective - your bike then looks weirdly shaped. So don't do this:
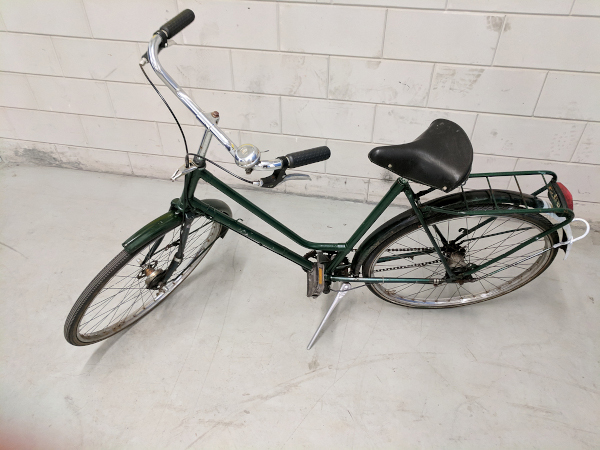
Green city bike with the stand
Finally, make sure to have your bike centered and straight - unlike this bad example:
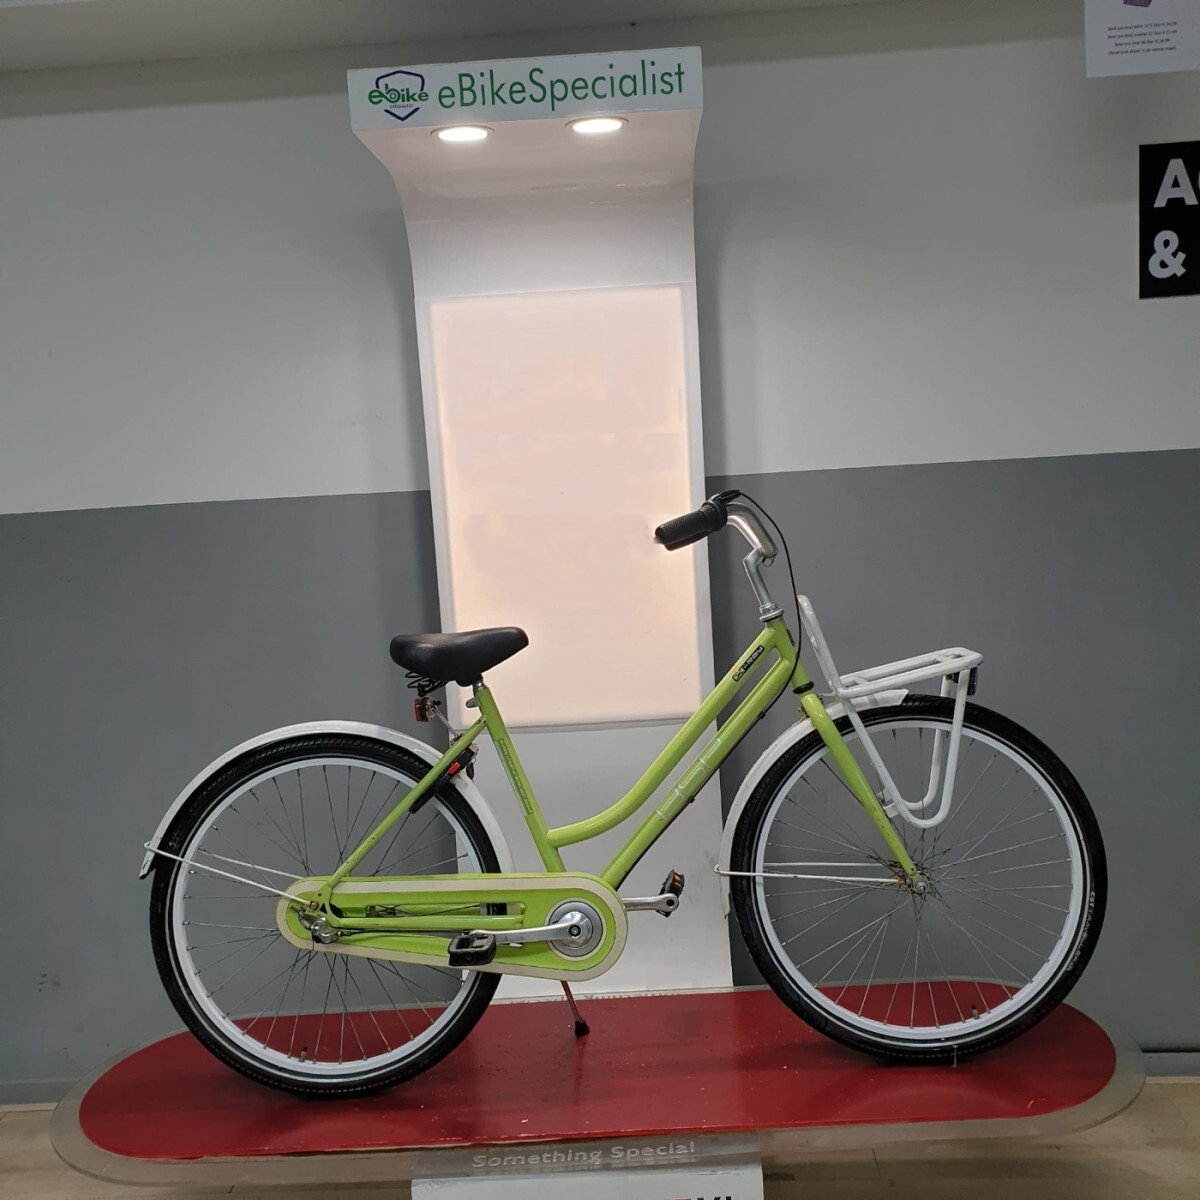
Lime green city bike under lights
If you take a step back, turn the camera to a "landscape" format (wider than higher) and lower it approximately to the level of the tire, the output looks much better:
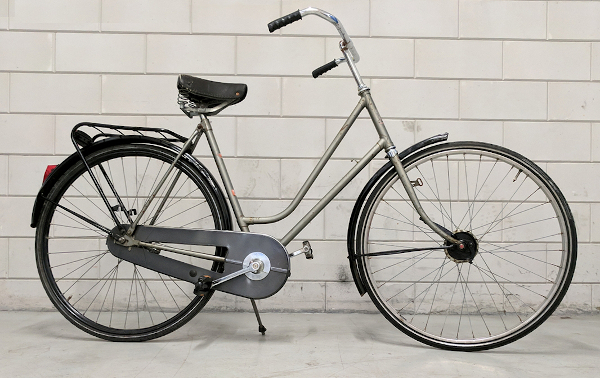
Gray city bike by the wall
Blue city bike with lock at the back
And, once again, keep in mind: it is always better to have too much space around the bike, than too little...
While you have the bike set up, make more photos from different angles. Both sides, angled photo from the front and back are a must. Especially the drivetrain (right) side is crucial. Add chain and tyres details and you have a great head start.
Racing bike with green tires
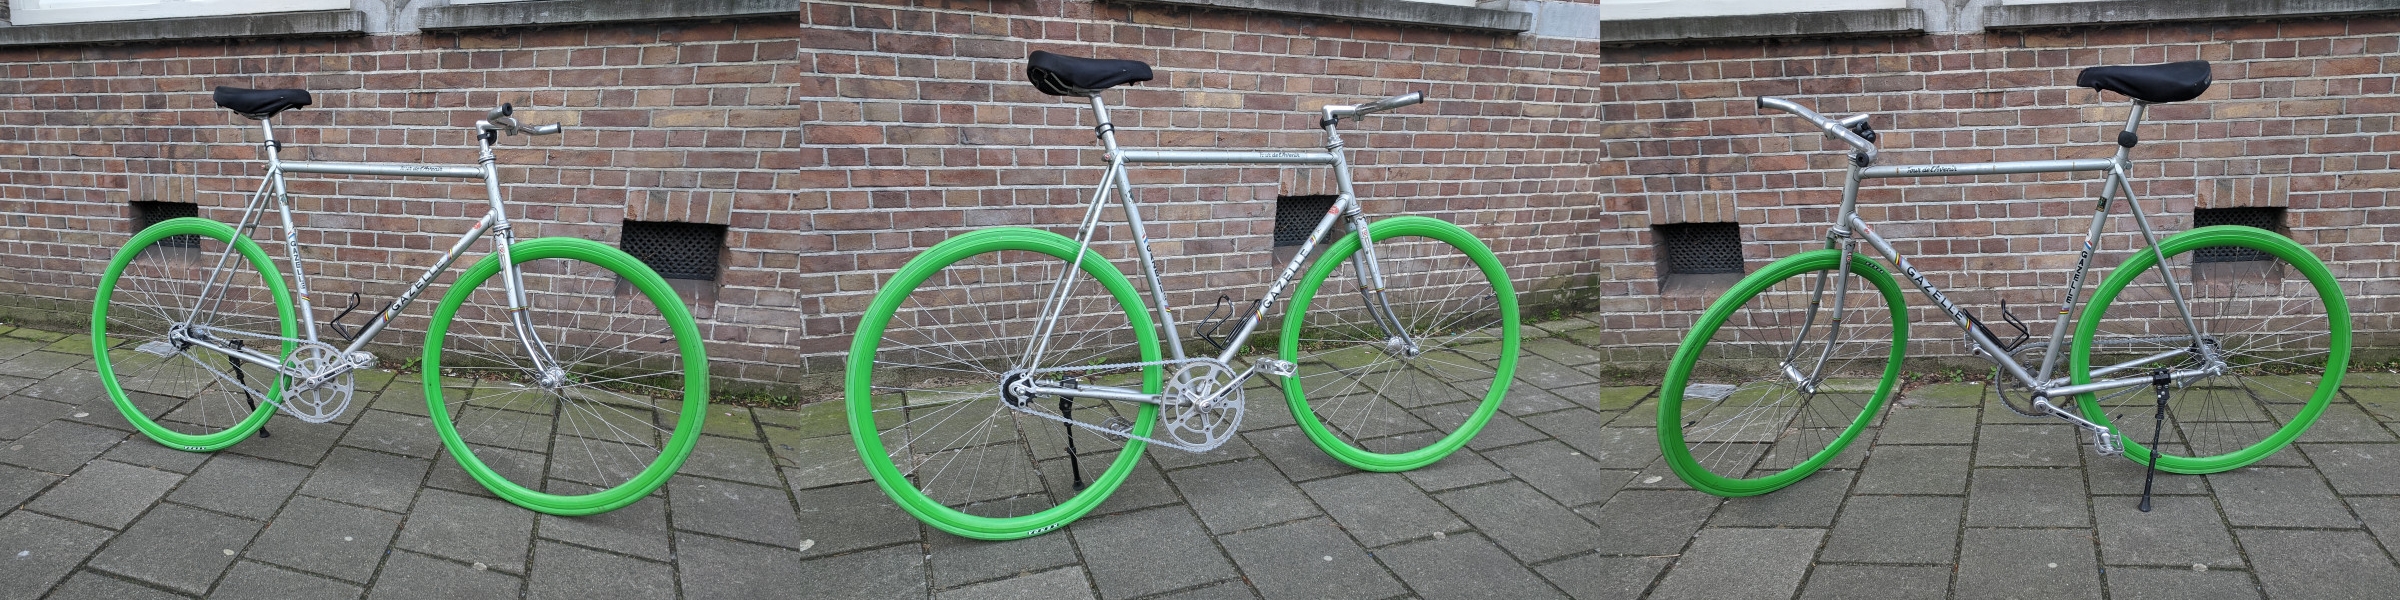
Racing bike with green tires from more angles
This is our recommended set:
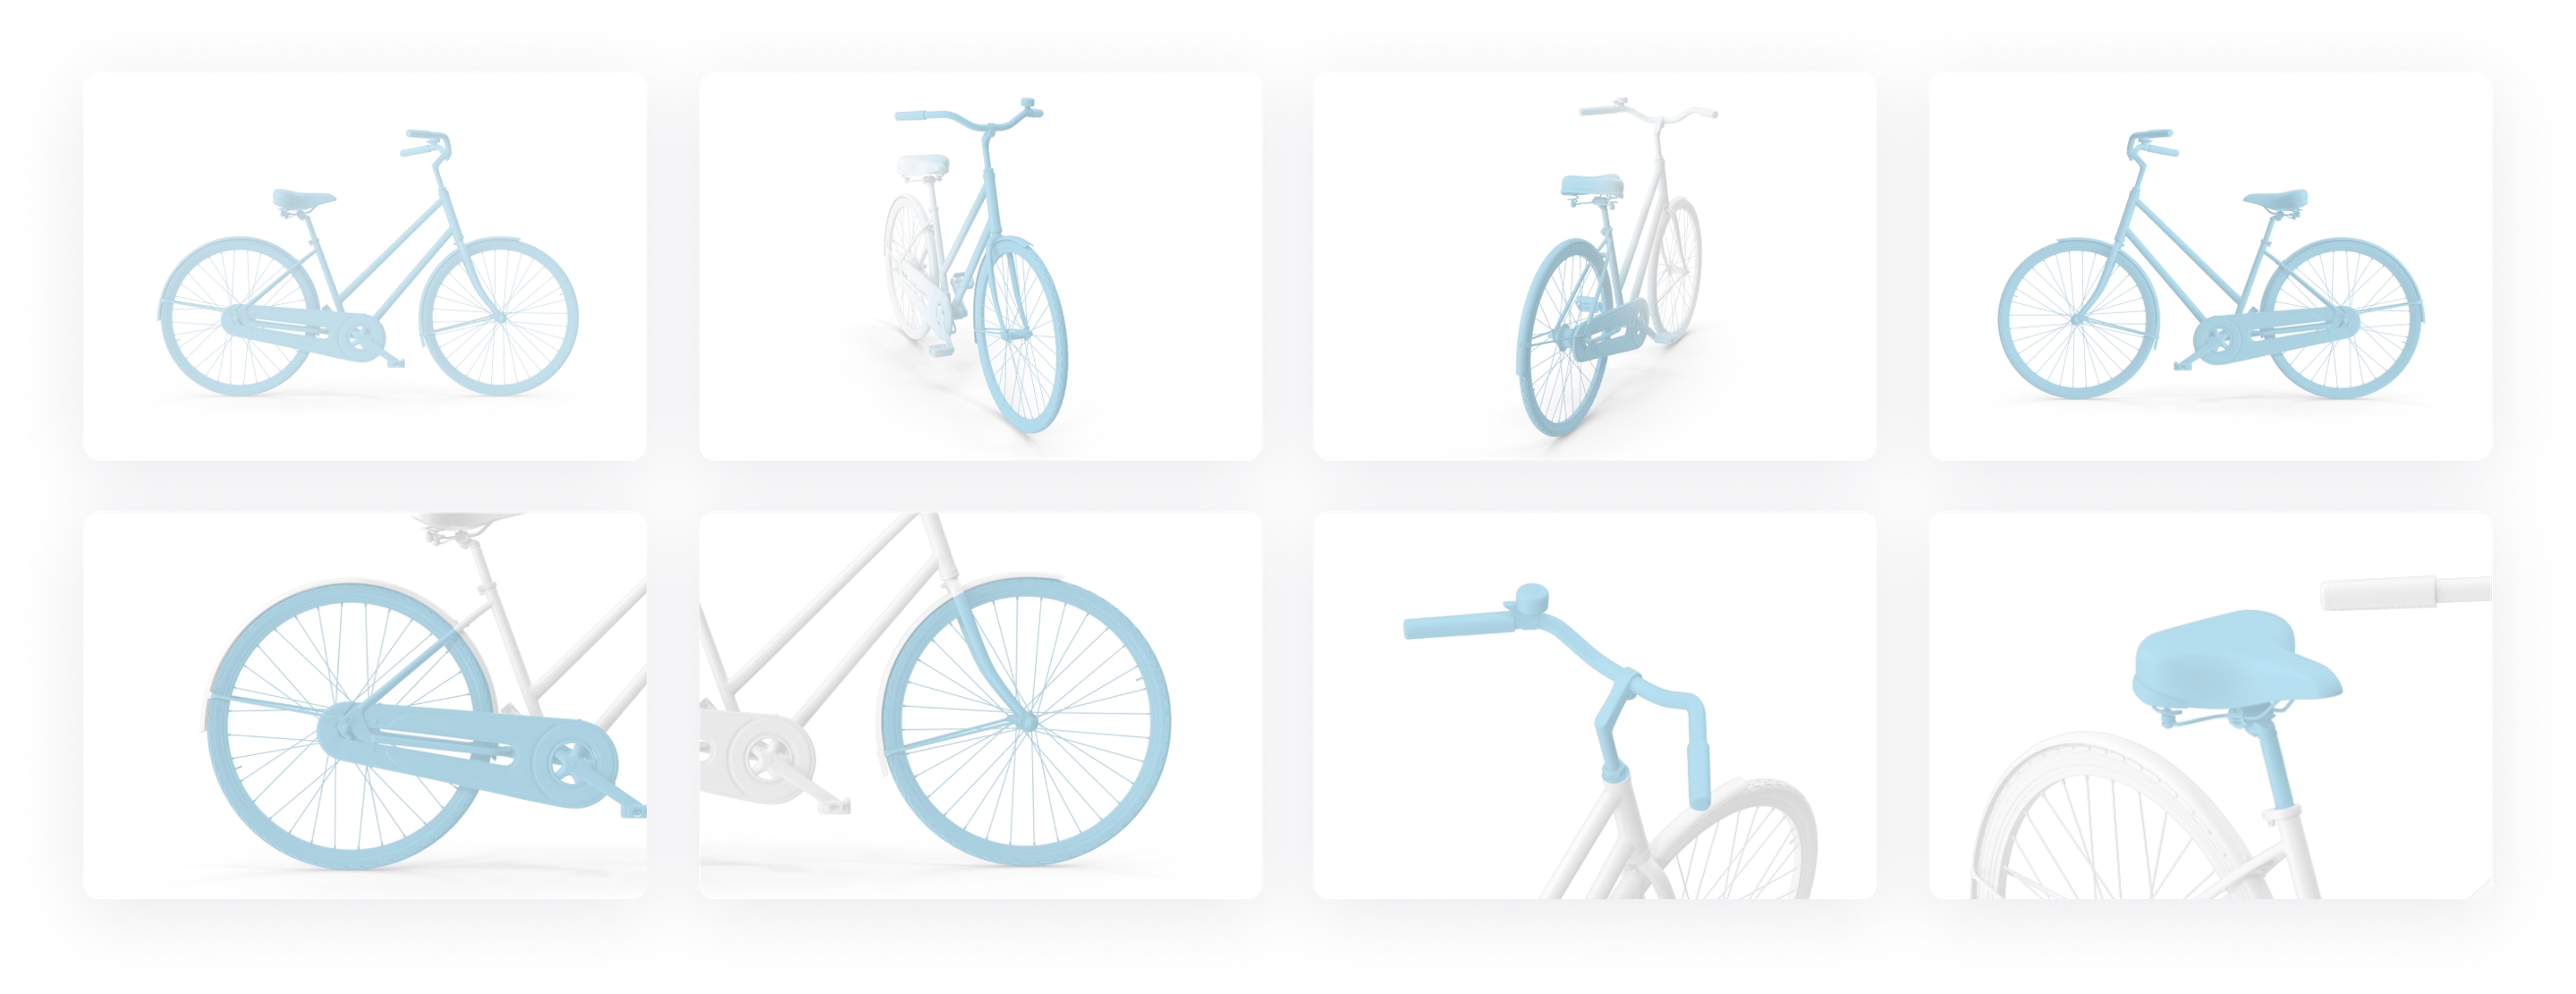
Recommended set - 8 photos
Finally, add a couple of highlight photos. Just bought a new bell? Have sharp gears/brakes/...? Add some detailed shots, too, and give your bike a personality.
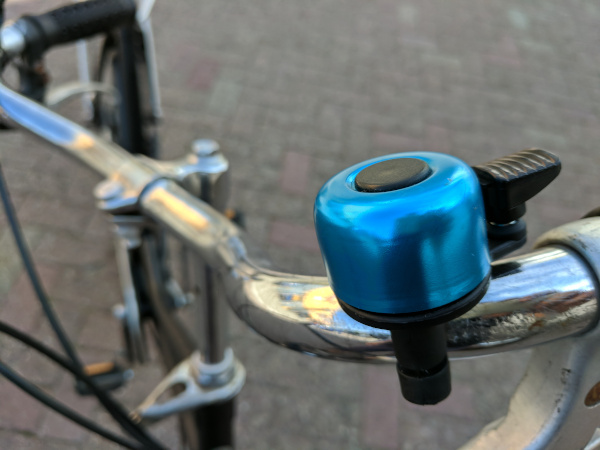
Blue ringbell
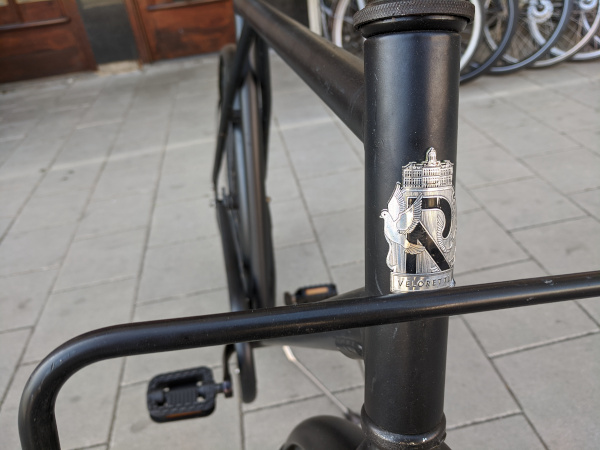
Black bike with silver sticker
Note: The details are only complimentary, and should always be attached to a set of photos of the whole bike. Unless you have a saddle made of gold, details on their own will not sell your entire bike...
So all in all, this is what you want to get:
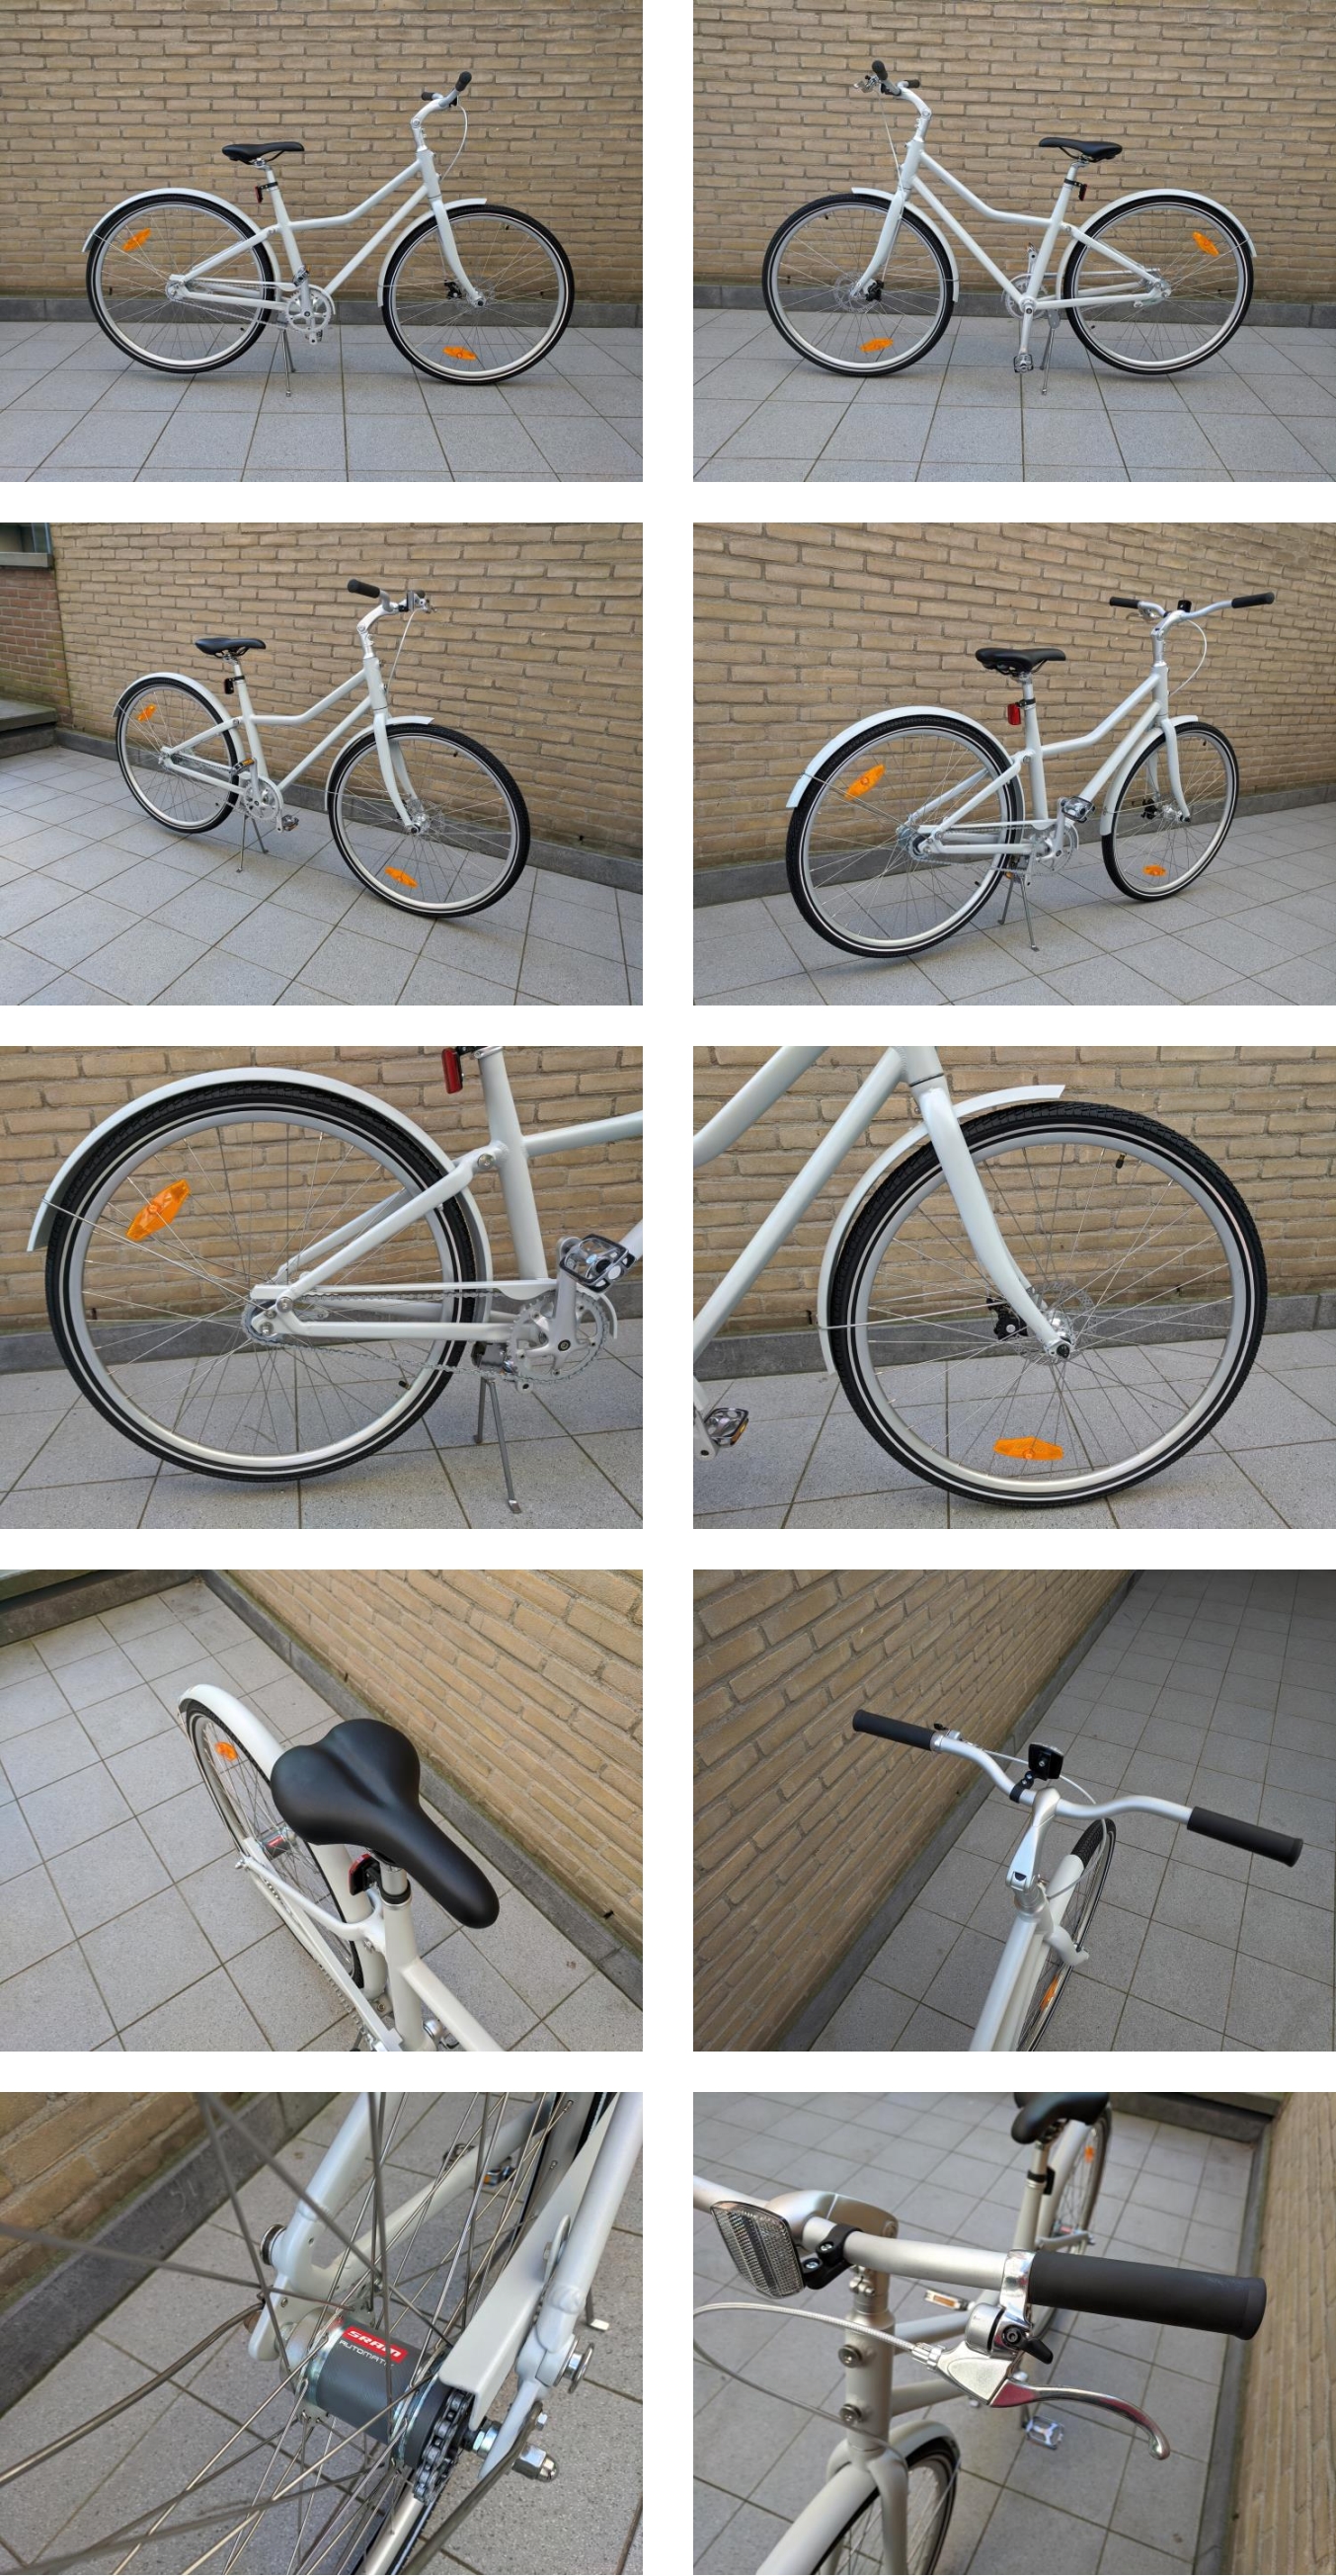
New city bike, detailed photos
- The more photos the better. It only takes a couple of seconds, and you can always delete the spares if needed. But they may save you doing the whole routine again.
- Photograph the frame size and frame number while at it. It will very likely save you additional trip(s) to the bike, too ;)
- Experiment with backgrounds. If you really want to do this well, try various backgrounds - depending on the colours, your bike might look nicer in different setups.
- Now that you've become a professional photographer, it's time to buy a good camera! But if you're also looking for an affordable way to get to your photoshoots, check out our bikes under €100.
READ MORE:
Anti-theft 1.0: The basics of bike locking
The Science of Bike Locking: Outsmart the Thieves!
Bike locks: How do I choose the right one?! The ultimate guide.